Quickstart
Ship your first bytes from edge to S3 in ~5 minutes
After creating an account, the EdgeMQ Quickstart wizard will guide you through:
- Generate API Key — for authenticating HTTP and MQTT requests to your endpoint
- Connect S3 — by creating an IAM Role EdgeMQ can assume with least‑privilege access to your prefix
- Deploy Endpoint — a dedicated VM in an edge location of your choice
- Send Test Data — verify the full edge ingest-to-S3 path via HTTP or MQTT
This document provides a summary of each step.
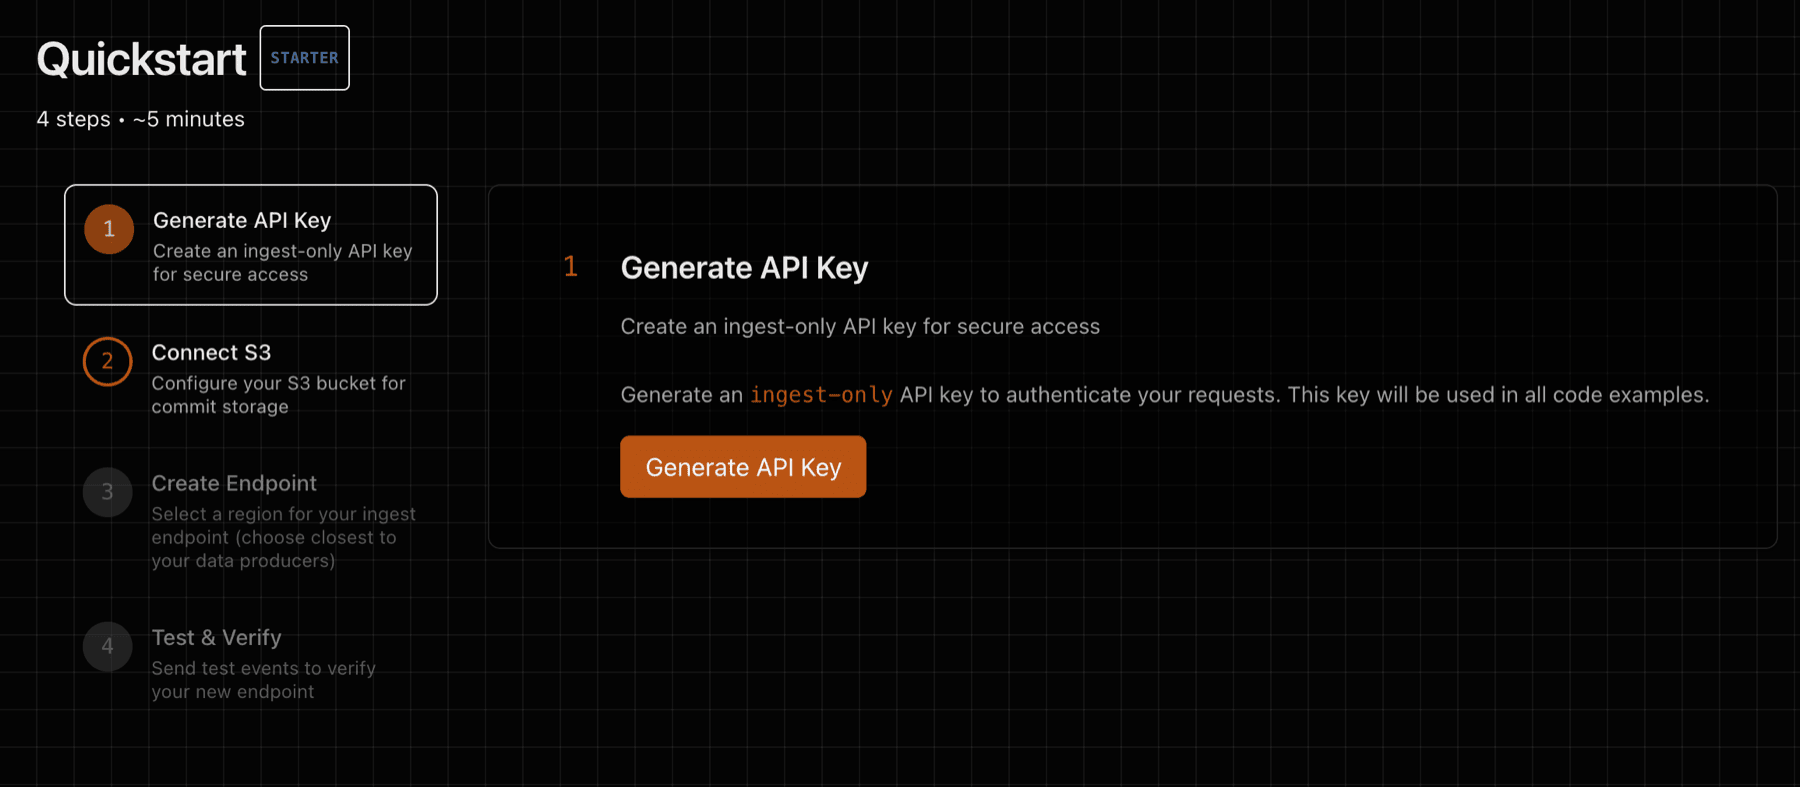
1) Generate API Key
Generate an API key that will be used to authenticate against your ingest endpoint. The same key works for both HTTP (X-API-Key header) and MQTT (password field in CONNECT):
2) Connect S3
Step 2 of the Quickstart will guide you through connecting to AWS S3 with a secure and least-privilege posture, so that EdgeMQ can write data to your S3 bucket.
After completing the S3 form, EdgeMQ will generate trust and permissions policies that can be used to configure an IAM role.
Use STS AssumeRole with least‑privilege access to your bucket/prefix. This keeps credentials short‑lived and fully controlled by your account. See Security posture below for rationale and alternatives.
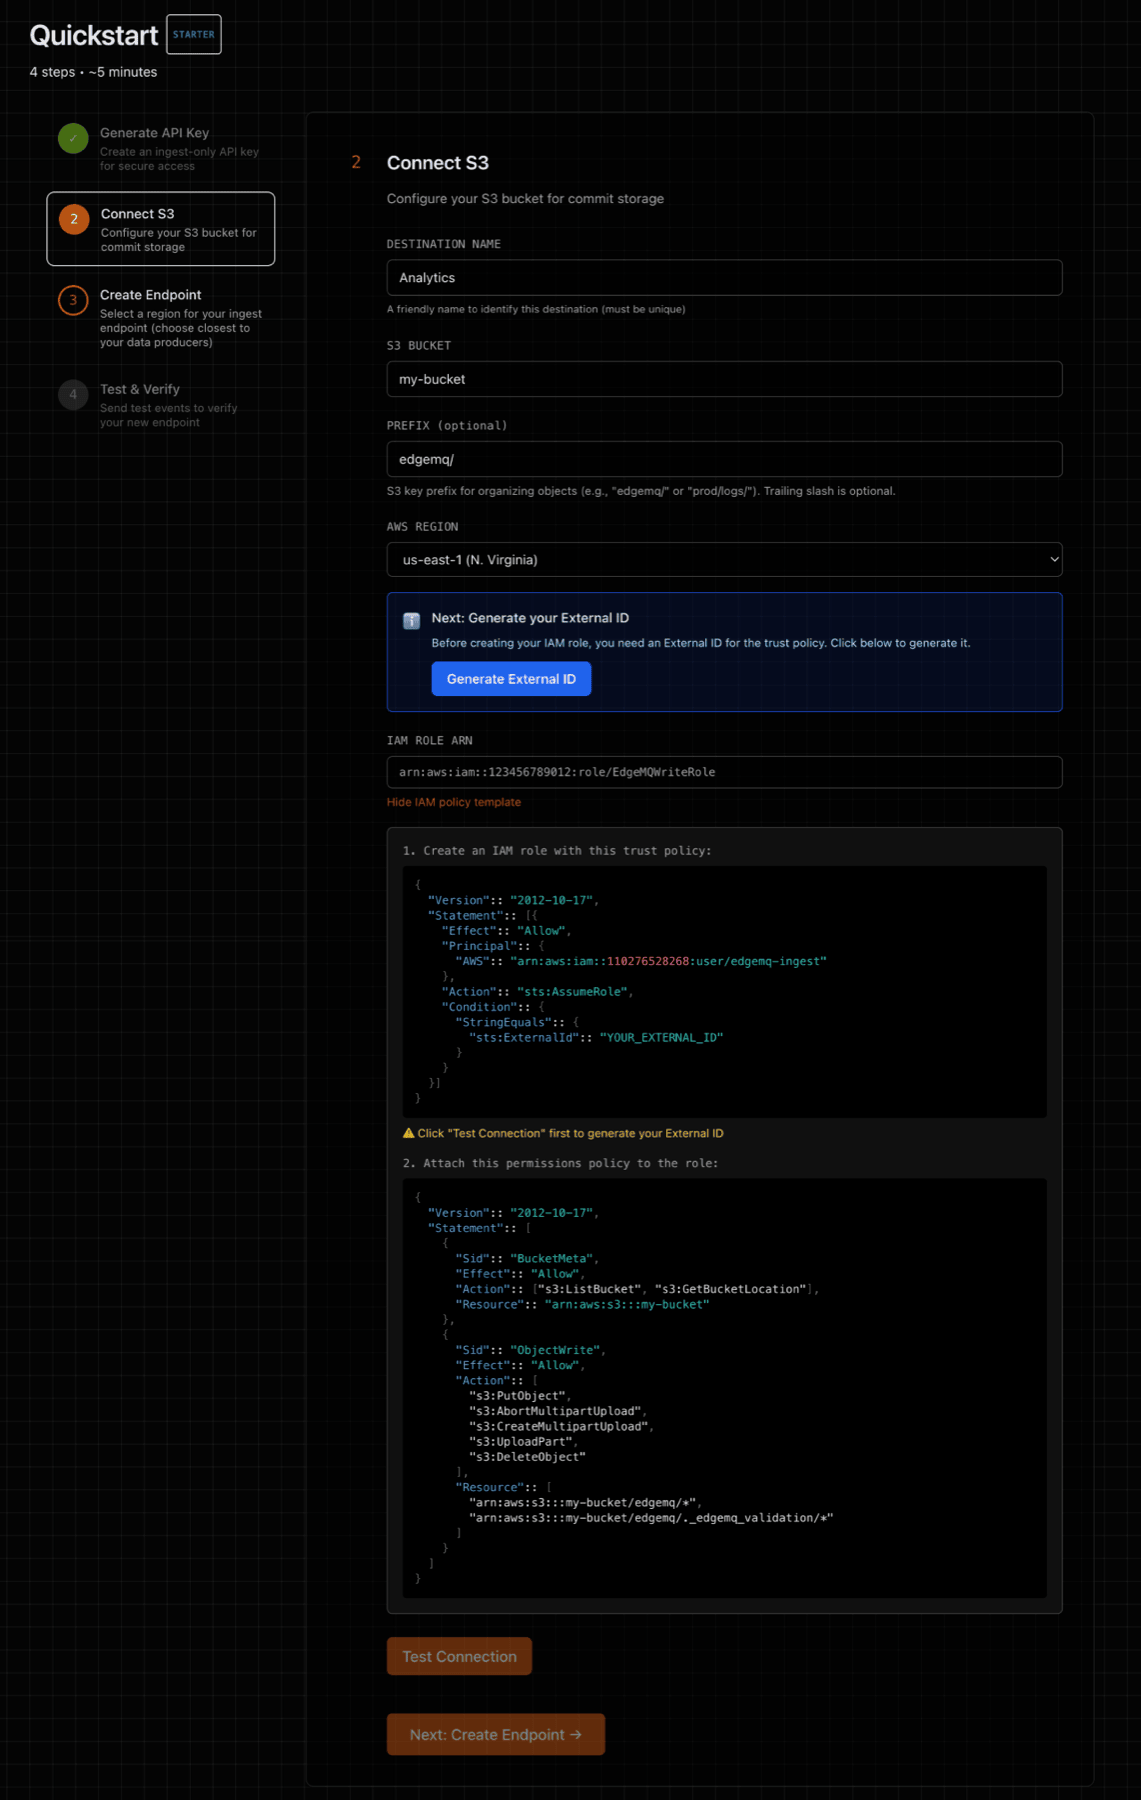
2a) Trust policy (who may assume the role)
Set the principal to your EdgeMQ Control‑Plane AWS principal and require the ExternalId shown in the Console when creating the Destination.
The ExternalId prevents the confused deputy problem — a cross‑account security issue where an attacker could trick EdgeMQ into writing to their bucket using your role. By requiring a unique ExternalId that only you and EdgeMQ know, your role cannot be assumed by anyone else, even if they know your AWS account ID and role name.
{
  "Version":: "2012-10-17",
  "Statement":: [
    {
      "Effect":: "Allow",
      "Principal":: { "AWS":: "arn:aws:iam::<CP_ACCOUNT_ID>:user/edgemq-ingest" },
      "Action":: "sts:AssumeRole",
      "Condition":: {
        "StringEquals":: { "sts:ExternalId":: "<EXTERNAL_ID_FROM_CONSOLE>" }
      }
    }
  ]
}
2b) Permissions policy
Allow only the actions required for multipart uploads, DLQ file downloads, and the small validation object the Console writes.
Replace placeholders with your bucket/prefix.
{
  "Version":: "2012-10-17",
  "Statement":: [
    {
      "Sid":: "BucketMeta",
      "Effect":: "Allow",
      "Action":: ["s3:GetBucketLocation"],
      "Resource":: "arn:aws:s3:::<your-bucket-name>"
    },
    {
      "Sid":: "ObjectAccess",
      "Effect":: "Allow",
      "Action":: [
        "s3:PutObject",
        "s3:GetObject",
        "s3:AbortMultipartUpload",
        "s3:CreateMultipartUpload",
        "s3:UploadPart",
        "s3:DeleteObject"
      ],
      "Resource":: [
        "arn:aws:s3:::<your-bucket-name>/<prefix>/*",
        "arn:aws:s3:::<your-bucket-name>/<prefix>._edgemq_validation/*"
      ]
    }
  ]
}
Using KMS? Also allow kms:Encrypt and kms:GenerateDataKey on your CMK and enter the KMS Key ARN in the Console.
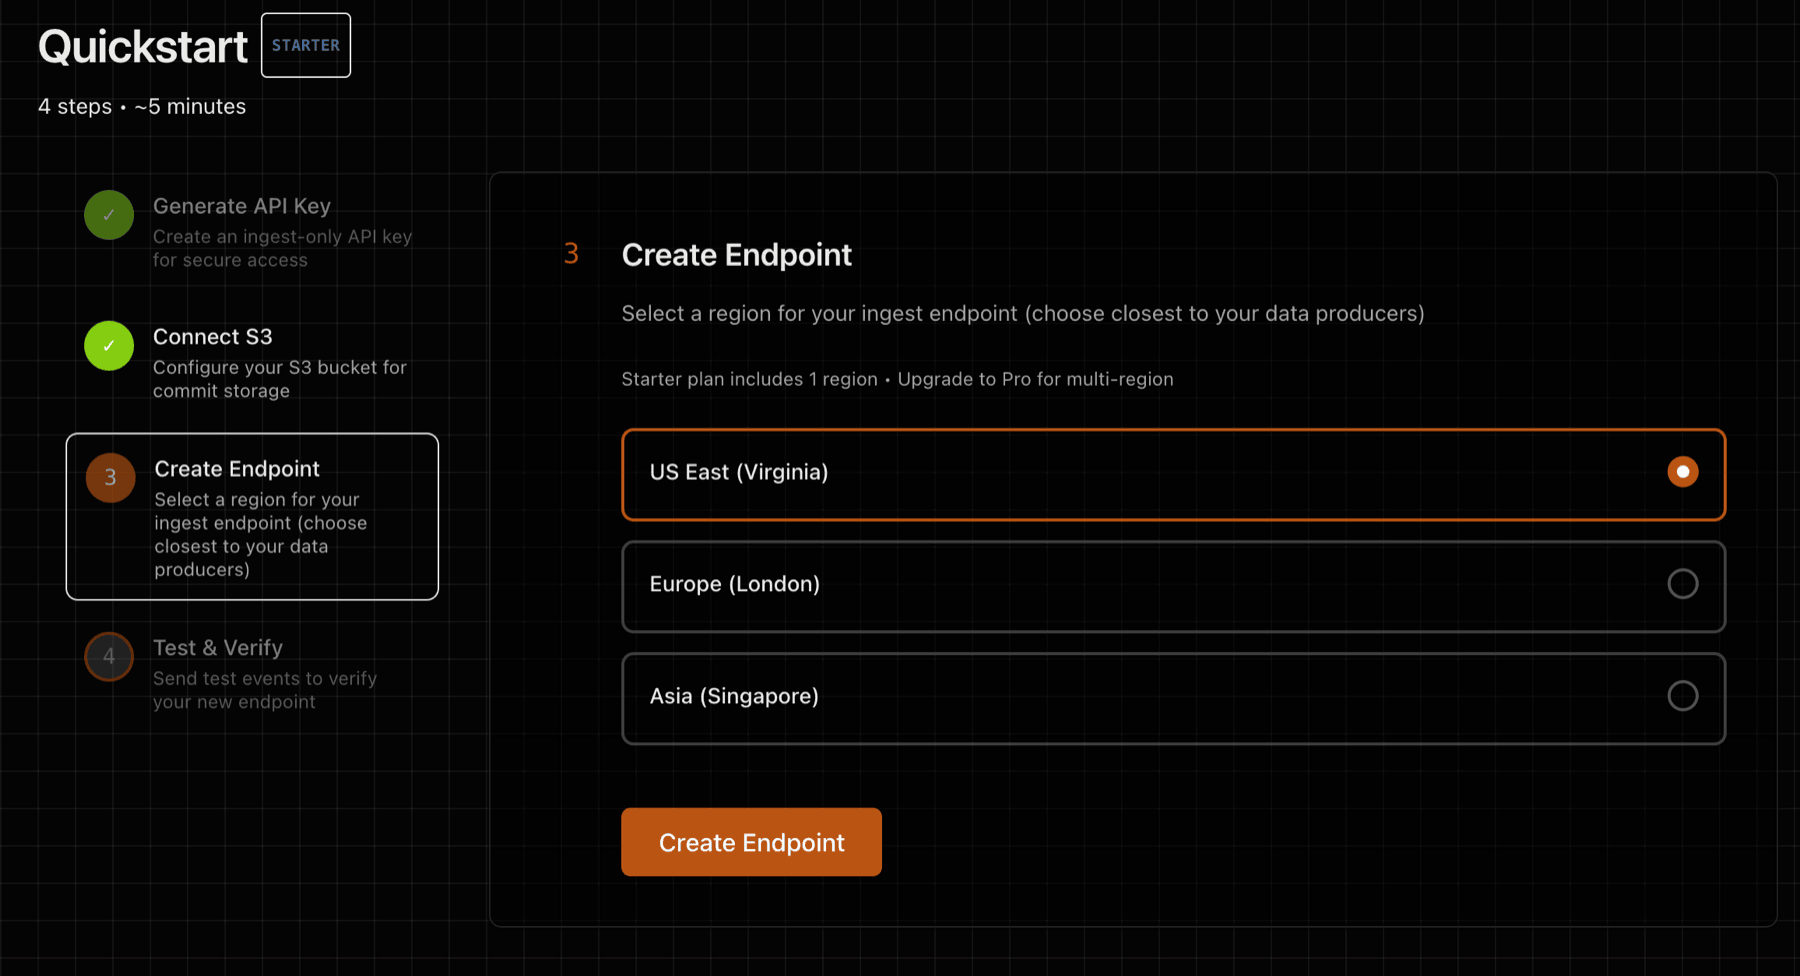
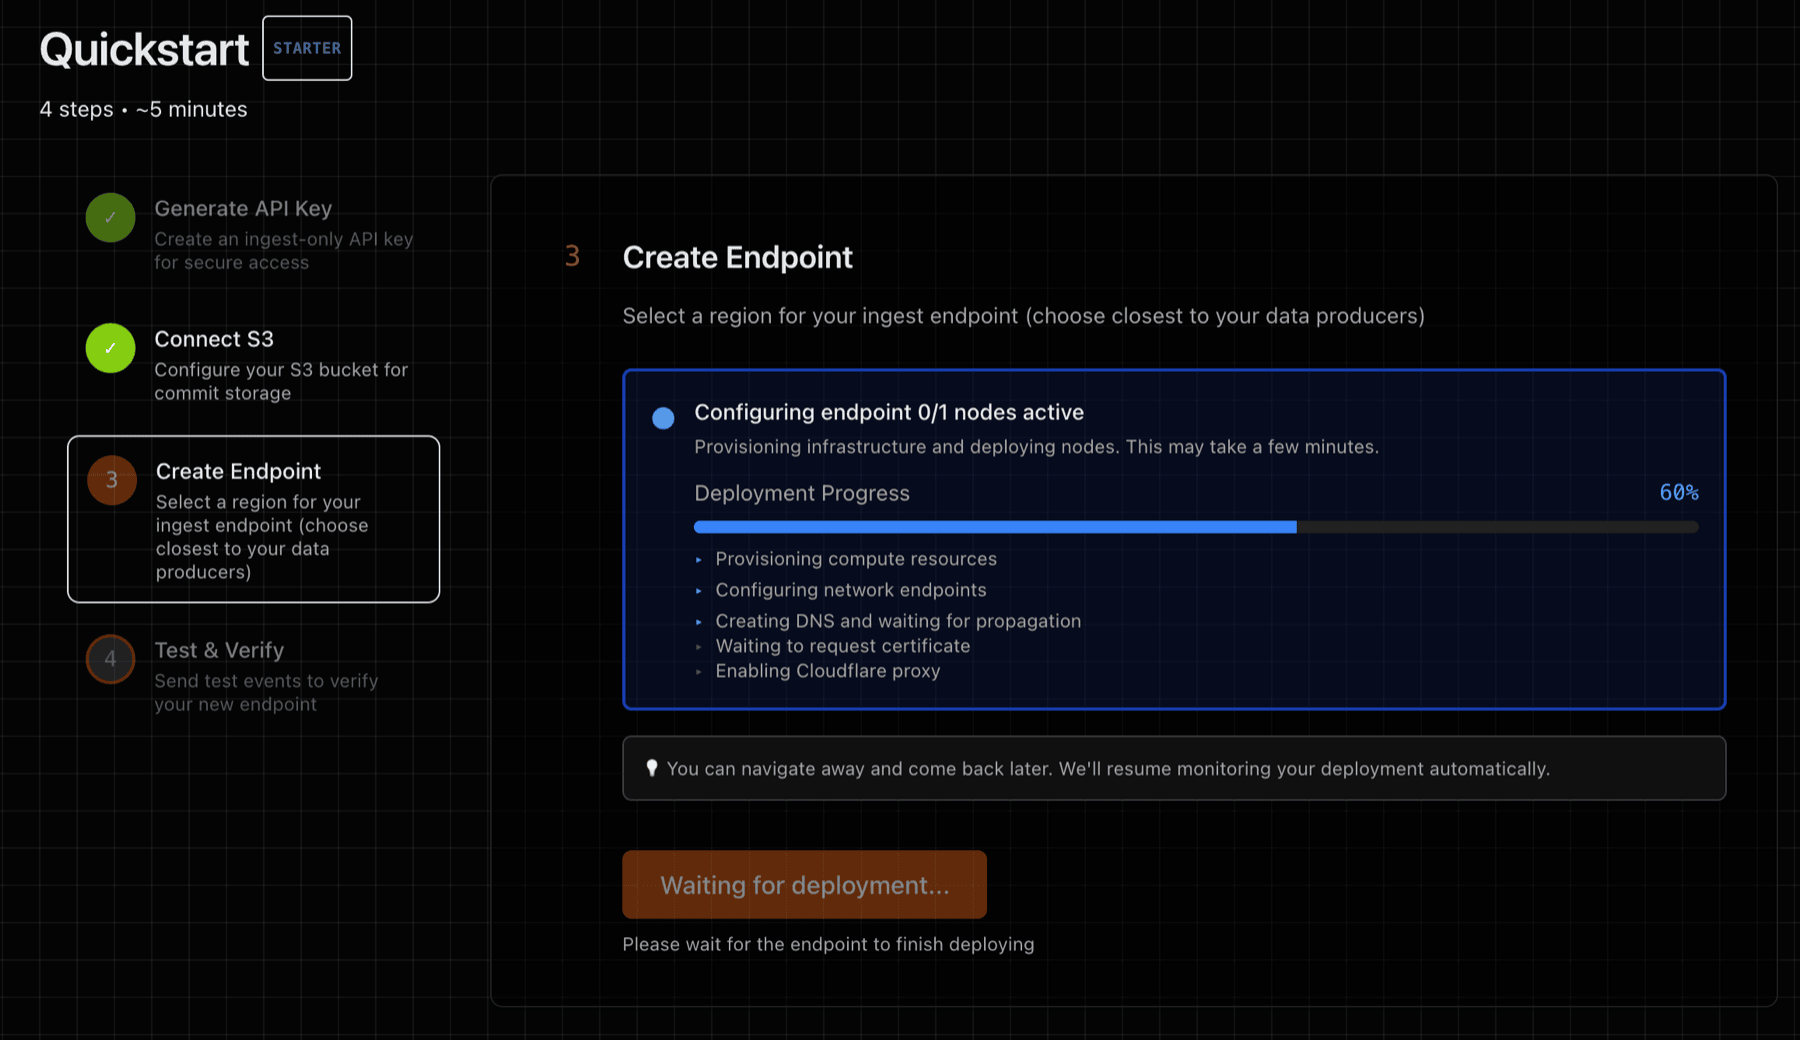
3) Deploy Endpoint
Step 3 of the Quickstart will deploy one or more ingest endpoints. An ingest endpoint is a dedicated VM with an NVMe-backed WAL volume (no shared disk) and isolated process boundaries. Once deployed, the endpoint provides:
- HTTP URL — for sending NDJSON via
POST /v1/ingest - MQTT URL — for connecting IoT devices via
wss://<endpoint>/mqtt
Both protocols share the same WAL, S3 destination, and API key.
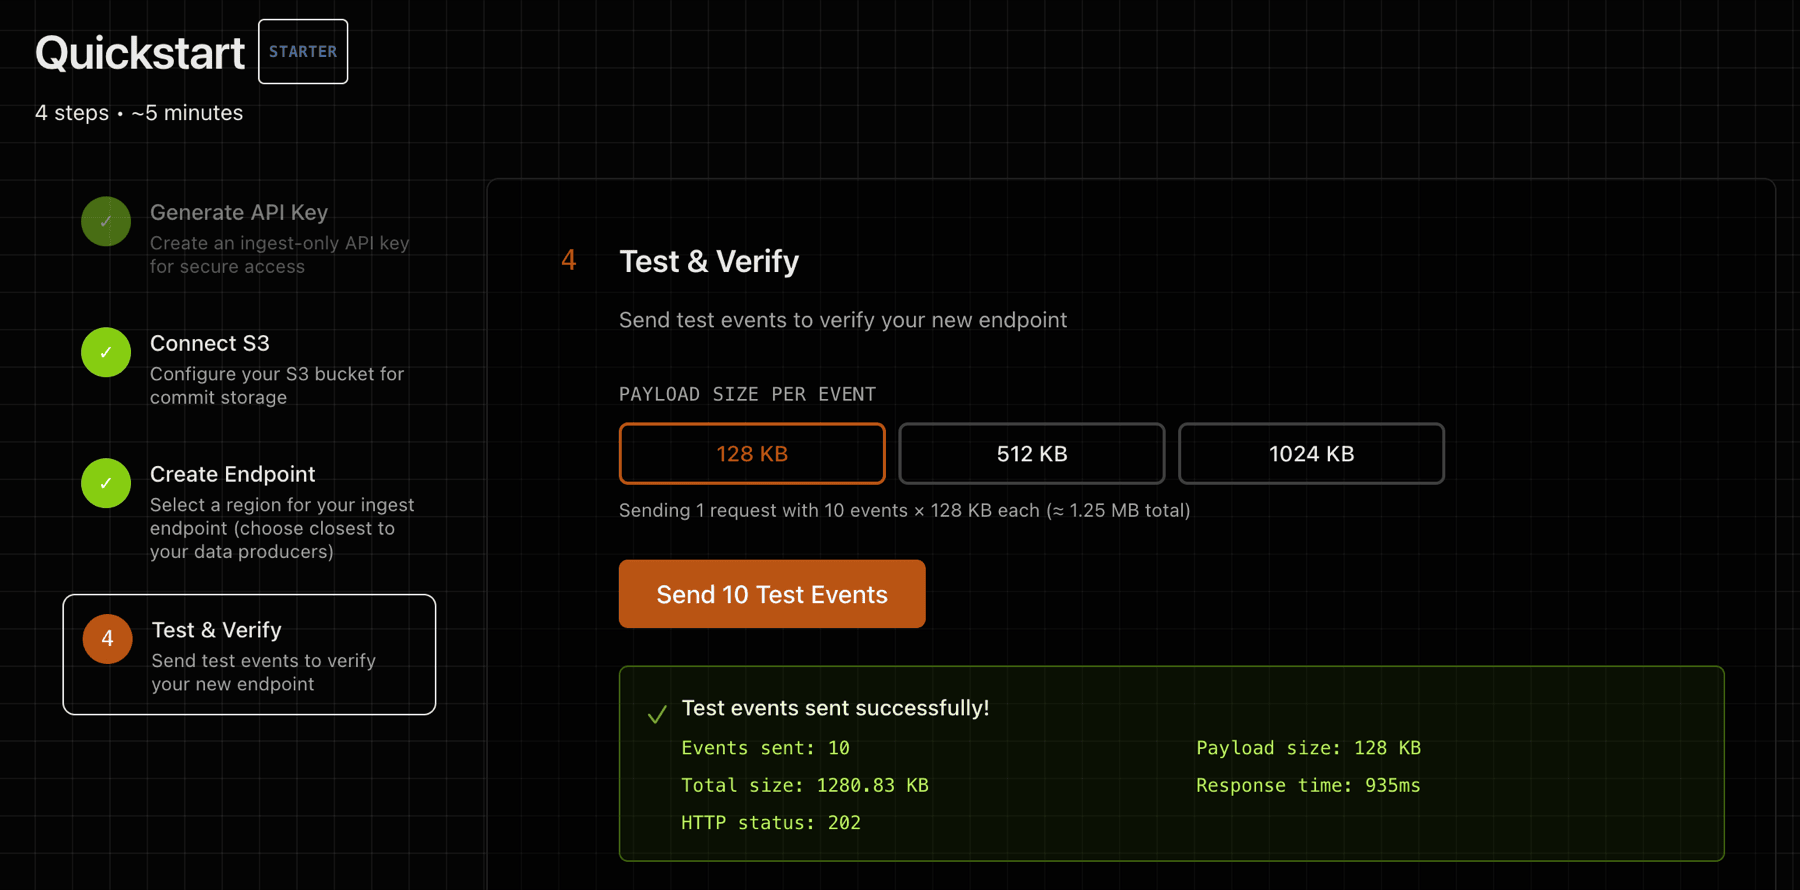
4) Test and Verify
Step 4 provides a test utility that will send a data payload to your deployed endpoint. You can also test manually using curl (HTTP) or mosquitto_pub (MQTT).
Test with curl (HTTP):
head -c 1024 /dev/urandom | \
curl -sS -o /dev/null -w 'HTTP %{http_code}\n' \
  -X POST https://<your-endpoint>/v1/ingest \
  -H 'Content-Type: application/octet-stream' \
  -H 'X-API-Key: <your-api-key>' \
  --data-binary @-
**Test with MQTT (requires mosquitto-clients):**
mosquitto_pub --url 'wss://<your-endpoint>/mqtt' \
  -u "test-device" -P '<your-api-key>' \
  -t "test/hello" -m '{"msg": "hello from mqtt"}'
See the MQTT guide for full connection setup and client library examples for Python, Node.js, Go, and Arduino.
Verify in S3:
Look in your S3 bucket under the configured prefix. Objects look like:
<region>/<instance-id>/<epoch>/segments/seg-000000NN.wal.zst
Data from both HTTP and MQTT arrives in the same S3 prefix — there is no separation by protocol.
Security posture
Principles
- Short‑lived credentials via STS
AssumeRole; no long‑lived keys stored by EdgeMQ. - Least‑privilege: scoped to your exact
bucket/prefix. Read access (s3:GetObject) is used only for DLQ file downloads via the Console. - Isolation by environment (dev/stage/prod) via distinct roles and prefixes.
Why Role over User?
- Roles issue temporary credentials and are easy to revoke or rotate centrally.
- Users create long‑lived keys that you must store and rotate — higher risk.
- If you must use a User, apply the same least‑privilege policy and rotate keys.
Permissions scope
- Trust policy requires the EdgeMQ control‑plane principal and
ExternalId(prevents confused deputy attacks — see trust policy section above). - Permissions policy allows multipart writes and DLQ reads to
arn:aws:s3:::<bucket>/<prefix>/*and the validation patharn:aws:s3:::<bucket>/<prefix>._edgemq_validation/*. Ingest nodes receive session-scoped credentials restricted to write-only. - Using KMS? Allow only
kms:Encryptandkms:GenerateDataKeyon your CMK.
Revocation & audit
- To revoke, remove our principal from the trust policy or detach the policy.
- Keep bucket encryption on (SSE‑S3 or KMS) and enable CloudTrail/S3 server access logs.